Dialogs
Main Window
Certificates are organised into folders in the left tree.
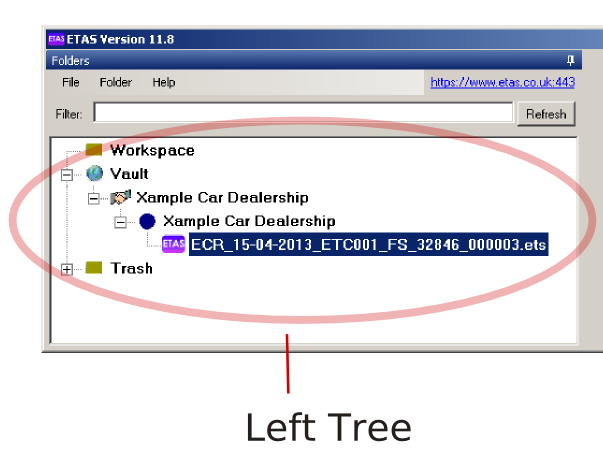
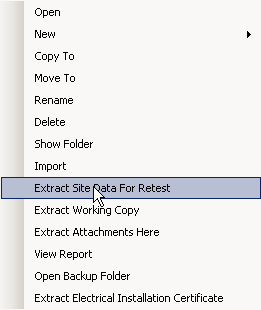
Right-click a certificate for quick access to file-level features:
Double-click a certificate to open it in a new Certificate Window.
Certificate Window
Left-click on an item in the left tree to display its properties in the right pane.
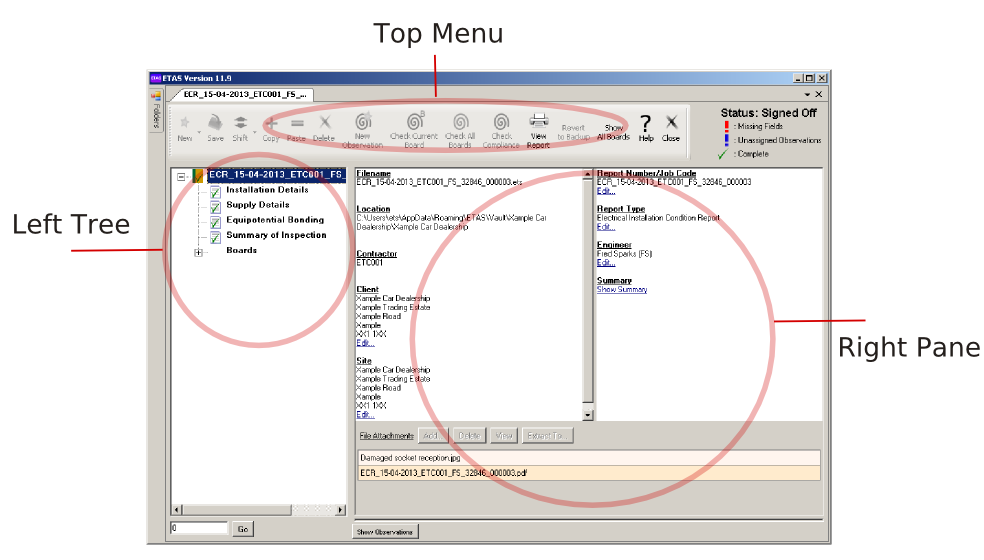
Right-click on the left-tree to create new boards, circuits etc.
Settings Dialog
Settings you configure here are saved in your profile folder.
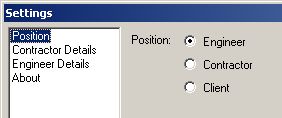
Mode
Based on this setting ETAS hides various features and settings to make the program easier to configure and use.
The first time ETAS is run you are prompted to choose a default mode. The table below summarizes the main differences between modes.
| View Certificates | Create Certificates | Sign Off Certificates | |
|---|---|---|---|
| Engineer Mode | Y | Y | N |
| Contractor Mode | Y | Y | Y |
| Client Mode | Y | N | N |
Both Engineer and Contractor mode require you to register a Contractor Code.
Contractor Details: General
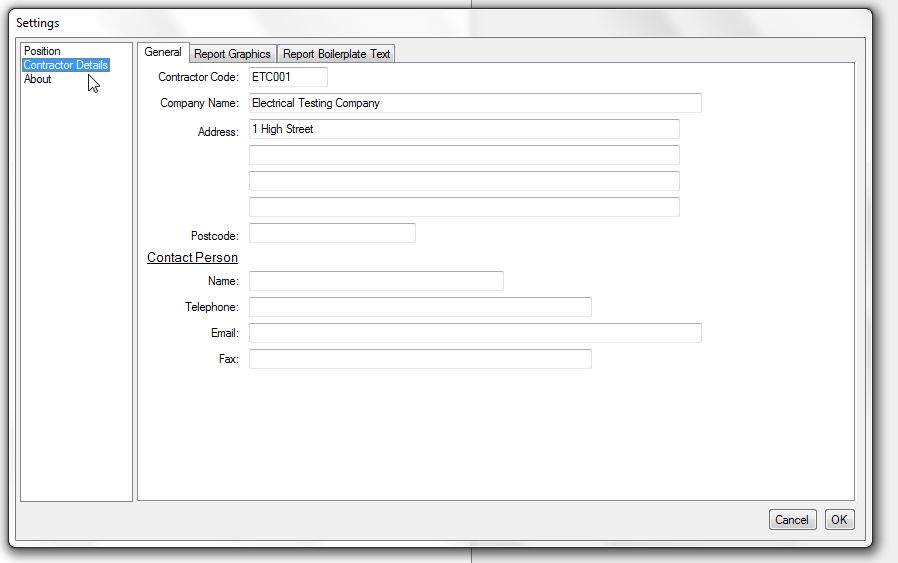
Contractor Code
Register ETAS to receive a Contractor Code and password that can be used to sign off certificates and generate full reports .
The Contractor Code is a 6-character label that identifies the organization or individual that produced the certificate. Each Contractor Code is unique and forms part of your certificate or report number. It can incorporate letters/numbers from your trading title e.g. ETC001 (Electrical Testing Company).
If you engage multiple inspectors, engineers or electricians with multiple computers, configure every copy of ETAS with your registered Contractor Code. This will ensure new certificates are labelled consistently. Inspectors can print draft copies, board schedules and bill of materials, but cannot “sign off” or print final certificates and reports without the password.
Company Name
Address
Postcode Contact Person
These details will appear in the top right hand side of an Electrical Condition Report or an Electrical Installation Certificate.
➲ Next: Glossary.
